Posted by Instyle Rugs
on July 11, 2025
Don't Let Stains Ruin Your Beautiful Rugs
Learning how to remove stain from rug is essential when you've just invested in a gorgeous new rug that perfectly complements your home décor, only to watch in horror as red wine splashes across its pristine surface. That sinking feeling doesn't have to be permanent! Whether it's coffee spills from busy mornings, muddy paw prints from beloved pets, or mystery stains discovered after moving furniture, every homeowner faces the challenge of keeping their rugs spotless.
Most people have moved a piece of furniture to cover a carpet stain rather than tackle the cleaning process head-on. However, with the right knowledge and techniques, you can transform your stained rug back to its former glory without costly professional cleaning or replacement. Follow our comprehensive 8-step guide to master the art of stain removal and protect your investment for years to come.
Understanding Your Enemy: Different Types of Carpet Stains
How to Get Stains Out: Water-Soluble vs Non-Water-Soluble Stains
Understanding the type of stain you're dealing with is crucial for selecting the appropriate cleaning solution. There are two general categories of stains that affect carpet fibres: those that dissolve in water and those that don't.
- Water-soluble stains are often easier to clean and include substances like washable ink, milk, latex paint, berries, and mud stains. These respond well to just water and mild dish soap solutions.
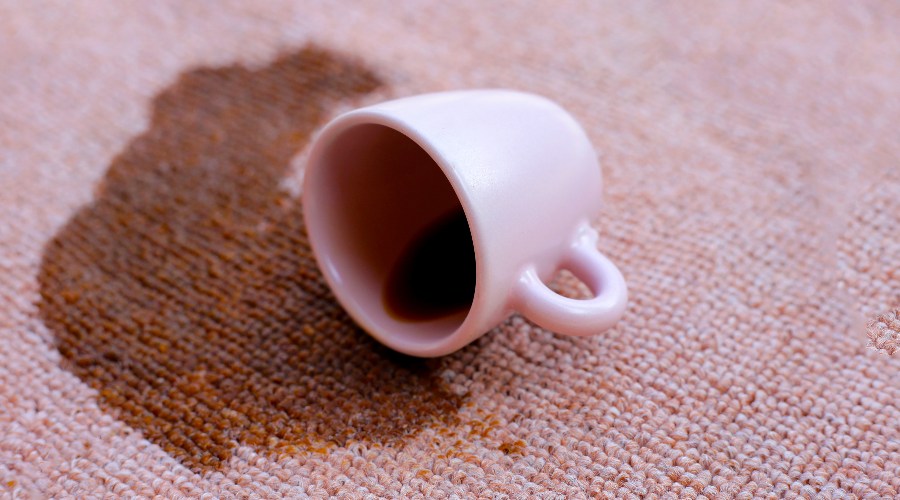
- Non-water-soluble stains present more of a challenge and include red wine, pet accidents, blood, chocolate, coffee spills, and grease stains. These stubborn stains require more specialised carpet stain removers and specific techniques. Oil stains and other fat-based stains like butter, margarine, or gravy fall into this category and often need baking soda as an initial treatment.
The most common carpet stains include food spills, pet accidents, urine, mud, coffee, and red wine. When you discover an old carpet stain and don't know its origin, it's much easier to remove when you can identify what caused it. However, if you've moved into a house with existing stains, start with the gentlest cleaning method and progress to stronger solutions if needed.
High-Traffic Areas Need Heavy-Duty Protection
Hallway runners are your first line of defence against tracked-in dirt and daily wear. Choose durable options that can withstand frequent cleaning. Shop today!
Essential Preparation: Getting Your Carpet Stain Removers Ready
Choosing the Right Dish Soap and Cleaning Arsenal

Before tackling any stain, proper preparation is essential. Every household should have a stain removal kit, including the following:
- White cloth or clean white cloth - Never use coloured towels that might transfer dye to your rug
- Mild dish soap - The foundation of most effective cleaning solutions
- White vinegar - Essential for breaking down stubborn stains and neutralising odours
- Baking soda - Perfect for absorbing grease and oil-based stains
- Spray bottle - For even application of cleaning solutions
- Paper towel - For initial blotting and drying processes
Having these carpet cleaners readily available means you can act quickly when accidents happen.
Always perform a spot test on an inconspicuous area before applying any cleaning solution to the stained area. This prevents further damage to your rug and ensures the cleaning process won't cause discolouration. Professional carpet cleaners always follow this rule, and you should, too. Even something as mild as warm water and dish soap should be tested first, especially on delicate materials like wool carpets.
How To Remove Stain From a Rug in 8 Simple Steps!

Step 1: Act Fast and Remove Excess Material
The key to successful stain removal begins with immediate action. For any fresh spill, speed is crucial in preventing the stain from setting into carpet fibres. Use a spoon or butter knife to gently scrape off any excess solid material. For liquid spills, use a clean cloth to blot away excess liquid, working from the outside edge toward the centre to prevent spreading.
Never scrub a carpet stain, as this can make the stain travel deeper into carpet fibres and potentially stain the underlying pad. Always blot, never rub, as this can permanently damage carpet fibres, according to cleaning experts. The blotting technique should be repeated until the cloth no longer picks up any colour. Remember to gently blot to remove excess moisture without pushing the stain deeper.
Step 2: Identify the Type of Stain and Its Age
To effectively remove stains, it is essential to determine whether you're dealing with set-in stains or a fresh spill, as this significantly affects your cleaning approach. Fresh spills that have occurred within minutes are still wet and much easier to treat than stains that have been sitting for days or weeks. A fresh spill might require only water and light cleaning, while old carpet stains need stronger solutions and more patience.
Consider whether the spot is fresh or set in. Fresh spots haven't had time to settle into the fibres, whereas set-in stains have soaked in deeply, making them harder but not impossible to eliminate. If you're unsure about the stain's origin, start with the mildest approach and work your way up to stronger carpet stain removers if needed.
Step 3: Perform a Crucial Spot Test
Before applying any stain remover to the main stained area, always test it on an inconspicuous area of the rug. Apply a small amount of your chosen cleaning solution and let it sit for five minutes. If no discolouration occurs, you can proceed with confidence. This step is particularly important when dealing with delicate materials or when using harsh chemicals.
Even natural solutions like baking soda and white vinegar should be tested first. Some carpet types, particularly wool carpets, can react unexpectedly to certain cleaning solutions. Professional carpet cleaners never skip this step, and neither should you. It's better to spend a few extra minutes testing than to risk damaging your entire rug.
Step 4: Pre-Treating and Rehydrating Old Carpet Stains
One of the most effective techniques for dealing with old carpet stains is pre-treating through rehydration. This process essentially turns back the clock, making set-in stains behave like fresh spills. Spray the stained area lightly with hot water or an appropriate cleaning solution and allow it to sit for several minutes. The pre-treating method is crucial for success when you need to get stains that have been embedded for weeks or months.
The rehydration process works because it loosens the dried stain particles, making them easier to lift from the carpet fibres. This technique is particularly effective for protein-based stains and many food spills. Be patient with this step; older stains may need 10-15 minutes of pre-treating time or even a few hours for particularly stubborn marks before they respond to cleaning efforts.
Spill-Prone Dining Areas? Consider Easy-Care Flatweave Rugs
Flatweave rugs offer the perfect solution for dining rooms where spills are inevitable. Explore today!
Step 5: Apply Baking Soda and Cleaning Solutions for Tough Stains
For water-soluble stains, start with the safest method: mix one cup of room-temperature water with a few drops of dish soap. This solution is safe for most carpet and rug types, including wool rugs, and won't cause damage. Use a white cloth to work the solution into the stain, being careful not to overwet the area.
For tougher stains, combine two cups of warm water with one tablespoon each of white vinegar and dish soap in a spray bottle. This enhanced solution works well for stubborn stains like juice or food dye. For grease stains, sprinkle baking soda over the stained area first, then spray with a mixture of one cup white vinegar, one cup water, and a few drops of dish soap. Let the baking soda sit for several hours before vacuuming.
Step 6: Spot Cleaning Techniques for Grease Stains and Oil Stains
Once you've applied your cleaning solution, let it sit for the appropriate time, typically 5-10 minutes for fresh stains and a few hours for set-in stains. Use a clean white cloth to blot the area, working from the outside toward the centre. For coffee spills, cleaning experts recommend mixing two tablespoons of hydrogen peroxide with one tablespoon of dish soap, letting it sit briefly before working it in with your fingers.
For grease stains and oil stains, the spot-cleaning approach differs significantly. Sprinkle baking soda generously over the affected area and let it sit for at least six hours to absorb the oil. Then, vacuum thoroughly before applying any liquid cleaning solutions. This prevents the grease from spreading during the wet cleaning process.
For blood stains, avoid hot water, as this will help the stain adhere to the material. Instead, apply cold water or club soda, then blot with a clean cloth. When dealing with white wine stains, club soda works particularly well. Spritz the area and blot with a clean microfiber cloth, repeating the process until the stain disappears.
The key to successful spot cleaning is patience; both the stain and your cleaning efforts need time to work effectively to get stains completely removed.
Step 7: Rinse and Remove All Cleaning Residue
After treating the stain, it's crucial to remove all cleaning solution residue. Use a damp cloth with clean, cold water to blot the area thoroughly. Any leftover soap or cleaning solution can attract dirt and create new staining problems. This rinsing step is often overlooked but is essential for long-term carpet care.
Use a paper towel or clean cloth to blot away excess moisture after rinsing. Press firmly to absorb as much water as possible. Some cleaning experts recommend placing a half-inch-thick layer of paper towel over the damp area, weighing it down with a heavy object, and changing the paper towel until the area is completely dry.
Step 8: Ensure Complete Drying and Restore Your Rug
The drying process is critical for preventing mould, mildew, and future staining issues. Ensure good air circulation around the treated area. Use fans if necessary, or place the rug outside on a sunny day if possible. The area must be completely dry before normal foot traffic resumes.
Once dry, restore the rug's texture by gently brushing the fibres with your hands or using a vacuum cleaner with an upholstery attachment. For areas that have been flattened during the cleaning process, gentle brushing helps restore the original appearance. Regular vacuuming after cleaning helps maintain the rug's condition and prevents future staining.
When Professional Carpet Cleaners Are Worth the Investment

While these DIY methods effectively help you get stains out in most situations, some circumstances call for professional cleaning. If you've tried multiple cleaning solutions, including these 10 easy steps to clean a rug, without success, or if you're dealing with valuable antique rugs, professional carpet cleaners have specialised equipment and expertise that can save your investment rather than forcing you to invest in new carpet.
Professional cleaning is also recommended for large areas that need deep cleaning or when dealing with particularly stubborn stains that have resisted home treatment for a few hours of effort. Many professional services offer both stain removal and protective treatments that can prevent future staining. The manufacturer's instructions for your specific rug type may also recommend professional cleaning for certain situations.
Consider professional help when dealing with delicate materials, expensive rugs, or stains that have covered large areas. While the upfront cost may seem significant, it's often less expensive than replacing a damaged rug. Professional carpet cleaners also have access to commercial-grade equipment and cleaning solutions that aren't available to consumers.
Transform Your Space While You Clean
Whether you prefer the timeless elegance of traditional designs or the versatility of transitional styles, a fresh rug can completely revitalise your room whilst you're already in cleaning mode. Explore now!
Your Rug's New Lease on Life Awaits
Mastering how to remove stains from a rug doesn't require expensive equipment or harsh chemicals, just the right knowledge and patience. These eight simple steps can save you hundreds of pounds in replacement costs while keeping your rugs looking pristine for years to come. Remember that most stains are conquerable with the proper approach, whether you're dealing with everyday spills or discovering mysterious marks from previous occupants.
The key to successful stain removal lies in quick action, proper identification, and using the appropriate cleaning solution for each situation. From simple food spills to challenging grease stains, these techniques will help you tackle virtually any staining emergency. Don't let a single accident force you to hide beautiful rugs under furniture or consider expensive replacements. Better yet, choose rugs with good stain-resistant features, like our indoor-outdoor rugs.
Start building your stain removal confidence today by assembling your cleaning kit and practising these techniques. With regular vacuuming, prompt attention to spills, and these proven methods in your arsenal, your rugs will continue to enhance your home's beauty for many years to come. Remember, every stain tells a story of a life lived in your home, but with these skills, those stories don't have to be permanent reminders.
Take a peek at our new arrivals today for premium quality rugs that last.